
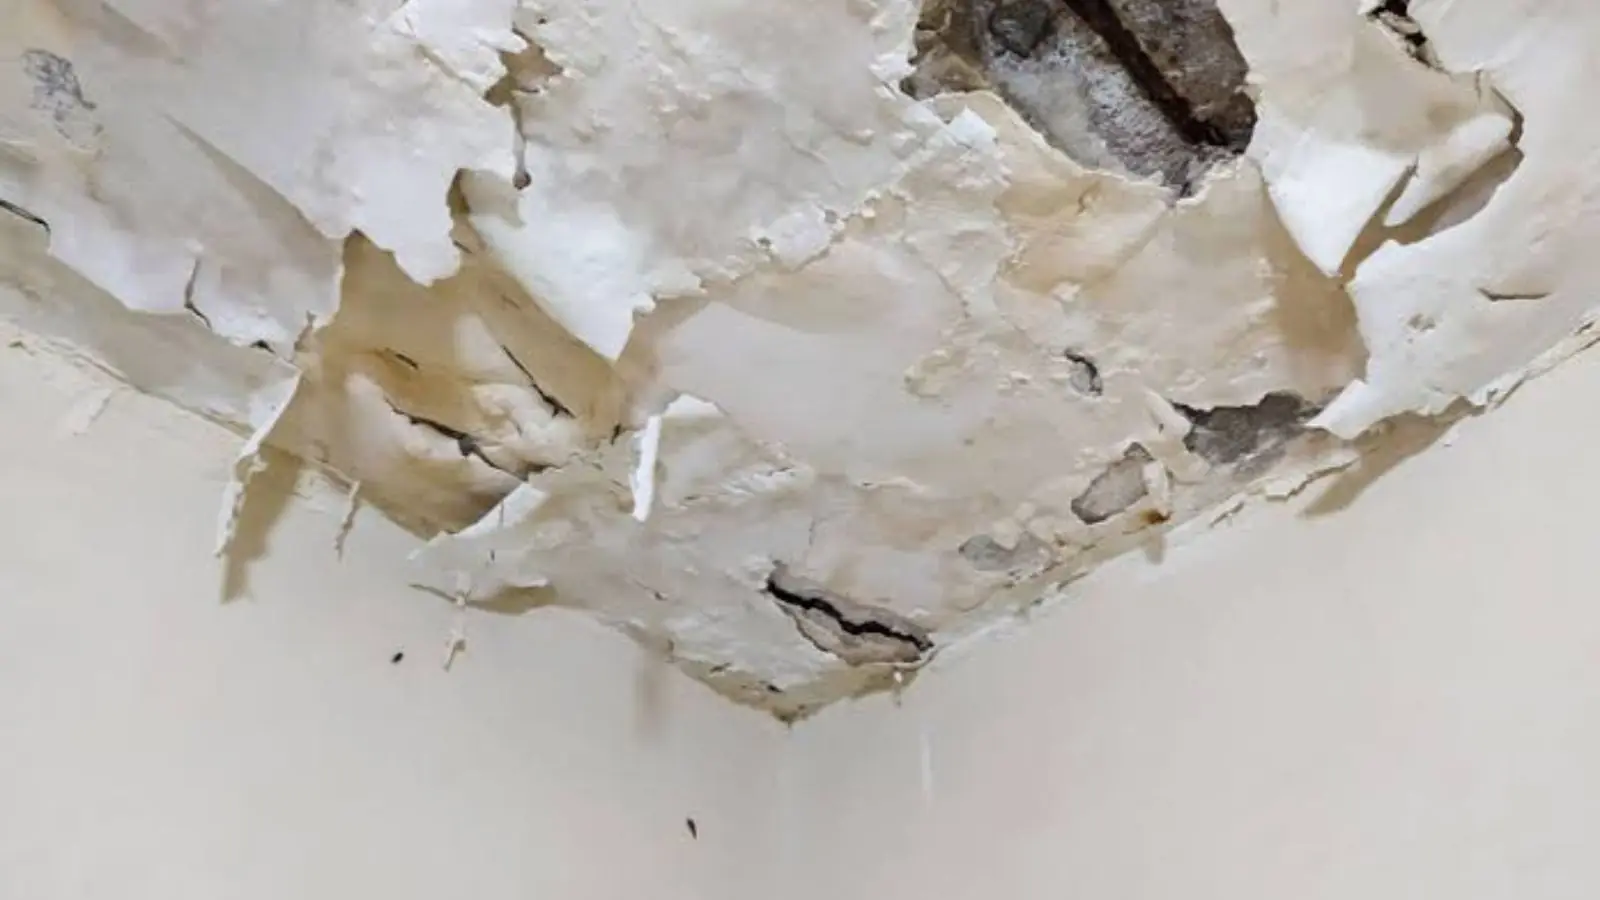
Start by Reading the Stain
A stained ceiling is a report card from the water above it. The color, the shape and whether it is still growing tell you what happened and how urgent the repair is. A brown ring that has dried and stopped spreading is a different job from a bulge that is dripping at the center.
The repair itself is straightforward carpentry and paint. The hard part is the sequence. Patch first and the stain bleeds through, or the leak returns and ruins the patch. Work through the steps below in order and you will only paint once.
Step 1: Decide How Bad It Is
Sagging or bulging
Water is pooled in the board or insulation above. Do not stand under it, and release the water in a controlled way.
Dripping
Active leak. Catch the water, shut off supply if a pipe is the source and stay away from fixtures that could be wet.
Brown ring that is dry
Old or intermittent leak. Still find the source, since it will repeat.
Soft, crumbly or musty board
The drywall has lost strength and should come out rather than be painted over.
If the light fixture or fan in that ceiling is wet, switch off the circuit at the panel before you touch anything. Water and wiring in the same cavity is a job for an electrician, not a roller.
Step 2: Release Trapped Water Safely
A bulging ceiling holds a surprising weight. Place a bucket and a tarp below, then poke a small hole at the lowest point of the bulge with a screwdriver, standing to the side. The water drains out in a controlled stream instead of collapsing the whole board later. If the area is large or the ceiling is already sagging badly, call for help rather than climbing under it. Our emergency water removal team handles that kind of call.
Ceiling sagging or still dripping?
Call dispatch and describe what you see.
Step 3: Find and Stop the Source
Water often travels along a joist before it shows up on the ceiling, so the stain may sit several feet from the leak. Check the room above for a tub, toilet or supply line. If the stain is under a roof, look at the attic for wet insulation, flashing problems and stained decking.
In winter, two causes show up again and again. Ice dams force melting snow under shingles, and frozen pipes split inside the ceiling cavity. You cannot patch a ceiling until the source is repaired, because new water will undo the work.
Wheat Ridge Local Note: Freeze Dates and Ceiling Leaks
The National Weather Service station for Denver puts the average first freeze at October 7 and the average last freeze at May 5. That is a long window, roughly seven months, when attic pipes, supply lines in exterior walls and roof edges can freeze and thaw.
Ceiling stains that appear in the first warm days after a cold snap often come from a pipe that split while frozen and began leaking once it thawed. If you see one, shut off water to that area and have the pipe checked before you do any cosmetic repair.
Step 4: Cut Out and Dry the Damaged Board
Drywall that was wet only briefly and is still hard can sometimes be dried and kept. Board that has softened, crumbled, grown spots or stayed wet for days should be cut out. Use a utility knife to cut a clean rectangle that reaches the nearest joists, so the new patch has something to screw into.
Protect the room
Cover floors and furniture, and wear a mask and eye protection when cutting.
Open the section
Cut back past the stain until you reach sound, dry board on all sides.
Check the cavity
Look at the insulation and framing. Replace wet insulation and let the framing dry fully.
Dry it out
Use fans and a dehumidifier until a moisture meter reads normal on the framing.
Drying matters because EPA guidance links mold control to moisture control. If you enclose damp framing behind a fresh patch, you are building a hidden problem. If you see growth on the back of the board, read about mold remediation before cutting more.
Step 5: Patch, Texture and Prime
Screw a new piece of drywall to the joists, tape the seams and apply joint compound in thin coats, sanding between each. Thin coats feel slow, but thick ones crack. Feather the edges wide so the patch fades into the old surface.
Texture is where DIY patches often show. Match the existing finish with a spray can, a stipple brush or a knockdown trowel, practiced first on scrap board. Then apply a stain blocking primer over the whole damaged area, since regular paint lets brown water marks bleed through.
Step 6: Paint the Whole Plane
Painting only the patch leaves a visible square. Paint the entire ceiling from wall to wall in one session, keeping a wet edge as you roll. Ceilings in older Wheat Ridge homes may also carry old textured coatings, so ask a professional about testing before you sand any ceiling of unknown age.
| What you see | Likely route |
|---|---|
| Small dry stain, source fixed | Prime with stain blocker and repaint |
| Soft spot the size of a dinner plate | Cut out and patch with new board |
| Large sag or multiple sections | Professional removal and drying |
| Water from sewage or a toilet overflow | See water damage cleanup before repair |
| Wet light fixture or wiring | Electrician first, then repair |
Neighbors in Golden and Arvada deal with the same ceiling leaks each winter, and the same sequence applies in either city.
Ceiling Repair FAQs for Wheat Ridge
Is a ceiling stain after a Wheat Ridge cold snap probably a frozen pipe?
It can be. The average first freeze is October 7 and the last is May 5, so pipes in attics and exterior walls are at risk for months. A stain right after a thaw is a sign to check the plumbing first.
Can I just paint over a water stain?
Only if the source is fixed and the board is dry and solid. Use a stain blocking primer first. Painting over soft or damp drywall hides the problem and often fails within months.
How long should I let the ceiling dry before patching?
Until a moisture meter reads normal on the drywall and framing, not by the calendar. Fans and a dehumidifier speed it up. Patching early traps moisture.
Should I call my insurer before cutting the ceiling?
Yes. Colorado Division of Insurance guidance says to contact your insurer and get instructions before repairs. Photograph the damage first so the record is clear.